Patching Larger Holes
| BACK TO TIPS MENU | |
With larger holes up to 450mm, cut a piece of plasterboard for an infill, a bit larger than the hole. Then hold it over the hole aligned with two sides and trace around. Trim the hole size to match the infill. You get a perfect fit every time.
There is no need to cut the hole back to a stud or ceiling joist,(although it is in the following example). All you need to do is screw cleats diagonally over each corner. Then screw the infill panel to the cleats. Tape up and finish as normal.

A large hole to be patched.

Marking the plasterboard in-fill.

Marking out the hole to cut.

Hole marked and ready to cut.

Hole cut and cleats screwed in place, (you can use timber).

Plasterboard infill screwed to cleats and stud.

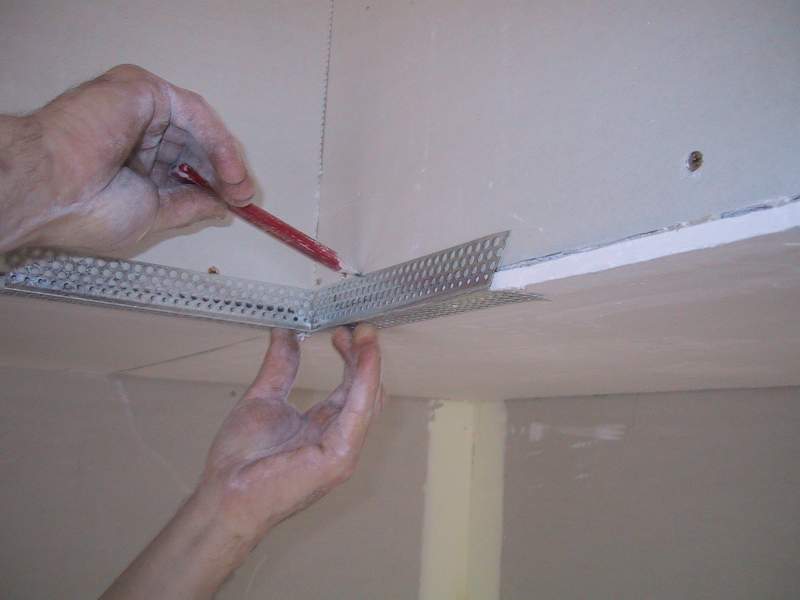
Fiberglass self adhesive tape over join.
Note: The tape does not overlap.

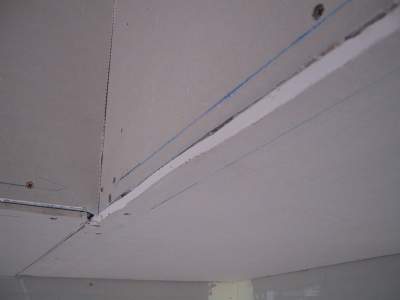
1st coat (laced with salt), over easy tape. Note: no attempt at this stage to get it smooth.
Within minutes this can be scraped smooth, as the plaster sets quickly.

2nd coat, fills the center and is worked out from the edges. (A bit difficult to see)

Top coat is applied in a bit of a circular motion.
I patched this hole using salt and scraping back between coats. Only one mix of cornice adhesive was required. There was no bumps, the patch was perfectly flat.
From arriving at the home to driving away again, after packing and cleaning up took a total of 40 minutes! This included taking all the photos.
This is by far the quickest and best method of patching a hole.
Control Setting Time
Most patching is best done with cornice adhesive. Cornice adhesive setting time can easily be controlled allowing you to complete a patching job with 1 mix only !
Patching a fist size hole in the wall requires a back block, a filling coat and up to 2 smoothing coats, all using cornice adhesive. This entire process can be done with 1 mix
The answer is SALT. Salt speeds up the setting time dramatically. A back block, (usually a strip of plasterboard, narrow enough to slip into the hole but long enough lap over the hole on 2 sides), is stuck to the back of the hole. The best way to do this is put a nail through the center of the back block, so you can pull it back into place, when the cornice adhesive has set simply push the nail back through and continue with your filling coats. Mix enough cornice adhesive to complete the job, but don't mix it much, just let it soak in the dish. Take just enough to do the immediate task, eg. placing the back block. Mix this amount thoroughly on a board with a liberal amount of salt sprinkled over it. The cornice adhesive will set in minutes, allowing you to scrape back any excess before applying the next coat or tape. It is important not to try and fill the hole all in one coat. What is left in the dish will still be soft showing no sign of setting. Repeat the process for each coat, scraping back each coat level as the plaster sets. For the final filling coat don't use the salt just mix it hard on the board. This is because the salt can leave scratches in your work. If you require this last coat of cornice adhesive to set quicker just add some more powder or water when you mix on the board. This will also speed up the setting without leaving scratches.
Using this method will allow you to finish the job in about 20 minutes!How To patch small dents
BACK TO TIPS MENUWhen patching small dents in plasterboard try using top coat. Top coat will dry quickly with small dents if necessary, allowing 2 or 3 coats over a few hours, making sanding to a smooth finish easy.
Back To Top